
Drums are the heartbeat to a song and a crucial element to the worship experience. Unfortunately drums can have a tendency to be the most difficult instrument to work with in a church sanctuary. The reality is, drums that are being amplified through speakers sound way better than the acoustic sound drums make from stage. Part of this is due to the amount of indirect sound that goes everywhere every time a cymbal, snare, or tom is hit. So I’ve put together this top ten list to help churches get off that pacemaker and get their heartbeat strong again.
How to Mic a Drum – 10 Tips to Mic’ing Your Drums for the Ultimate Sound!
1. Isolate your drums.
The general rule of thumb when isolating drums is this: the bigger the room, the less isolation needed; the smaller the room, the more isolation needed. If your church sanctuary is less than 500 seats its generally a good idea to isolate as much as possible with a complete drum enclosure. Churches with seats from 500 – 1000 can usually get away with just a drum shield. Rooms that seat over 1000 people don’t need much isolation, but sometimes for the sake of the other musicians on stage it’s still not a bad idea.
2. Don’t over mic.
In the recording industry its common to use more than enough mics to capture drum sounds. Often times drums are double or even triple mic’ed depending on the effect the recording engineer is going for. Even though many truths carry over from the recording field into the live sound field, this isn’t one of them. Too many mics, specially behind a drum shield, can cause phase issues, noise issues, and can be confusing for volunteers who are often mixing the service.
3. One mic per drum.
To fight against the over mic’ing issue its good practice to use one mic per drum and one pair of overheads per drum kit. In rooms over 1000 seats where there is no drum isolation its ok to add in a mic on the high hat, and to double mic the snare (top and bottom). Unless you are Dream Theater….then mic away!
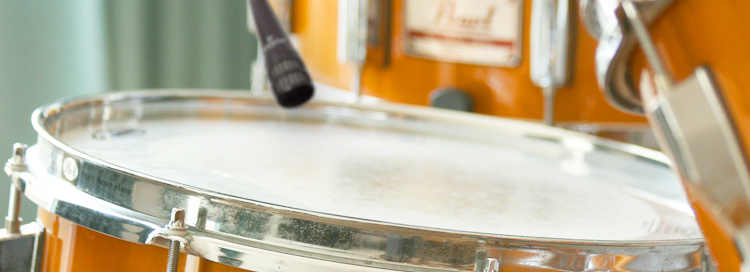
4. Placement is important.
If you find that the drums just aren’t sounding great, consider moving the mics around to capture different sounds. If you find your snare doesn’t have the bite you’re looking for, try bottom mic’ing instead of top mic’ing. Or if your kick mic is deep inside the drum and it lacks tone, move the mic to the outer port hole. Don’t be afraid to move your mics around to find that sweet spot.
5. Quality matters.
A really good pair of overheads will sound better on a kit with no other mics than a bunch of cheap drum mics will. I’ve run sound with a pair of Audio Technica 4040’s and an AKG D112 on the kick and had way better sound than when I used something like the Nady drum mic kit.
6. Condenser vs. Dynamic.
There is only one application for condenser mics on drums in a live environment, specially in an isolated environment: overheads. Every other mic on the drum kit should be a dynamic mic. Condensers are simply too sensitive to place next to a drum head, too many condensers will pick up too much indirect sound.
7. Use the right mic.
There are many microphone manufacturers out there that make specialty mics for guitars or vocals when in reality you can use just about any mic for just about any application. Drums are the exception: drum mics are tuned to pick up the lower tones that drums produce. The simple fact of the matter is that mic’ing a kick drum with a 57 will sound pretty bad compared to something like the RE20, D112, or Beta 52. It is a good idea to invest in a quality set of drum mics.
8. Mounting your mics.
Lets face it, most Sunday mornings we assume the drum mics are mounted properly. Its always a good idea to glance in the drum cage and make sure the mics are mounted securely and aimed properly. Its so easy for a mic to fall off its mount, or “accidentally” get hit while the drummer is playing. Be sure that each mic is out of the danger zone of the dummer’s sticks, and that it won’t get hit by any adjacent cymbals.
9. Be weary of cymbal bleed.
If you happen to have a drummer that plays the cymbals more than the drums (y’all know who I’m talkin about), feel free to barely push the overheads at the board. I’ve also compensated for this by either not using the overheads at all, or putting a low pass filter on the overhead channels. Drummers that overuse the cymbals can easily dominate the audio spectrum from 5kHz up, which can potentially reduce the clarity of everything else on stage.
10. Mix according to your mics.
I’ve had this saying for a while: mix according to your mics, not your past. Its important to know the frequency responses of your mics, specially if you’re unfamiliar with the mic. Not all mics are created equal. If you are used to boosting the kick at 4kHz on a Nady drum mic and finally swap out to the Shure Beta 52, you’d overpower 4kHz because the Beta 52 has a natural boost there. Read through your documentation and familiarize yourself with the frequency response charts of your mics. Sometimes its a good idea to print out the frequency response charts of new mics you start using so that all of your sound techs can be aware of that mic’s characteristics.
What are some of your drum mic’ing tips?