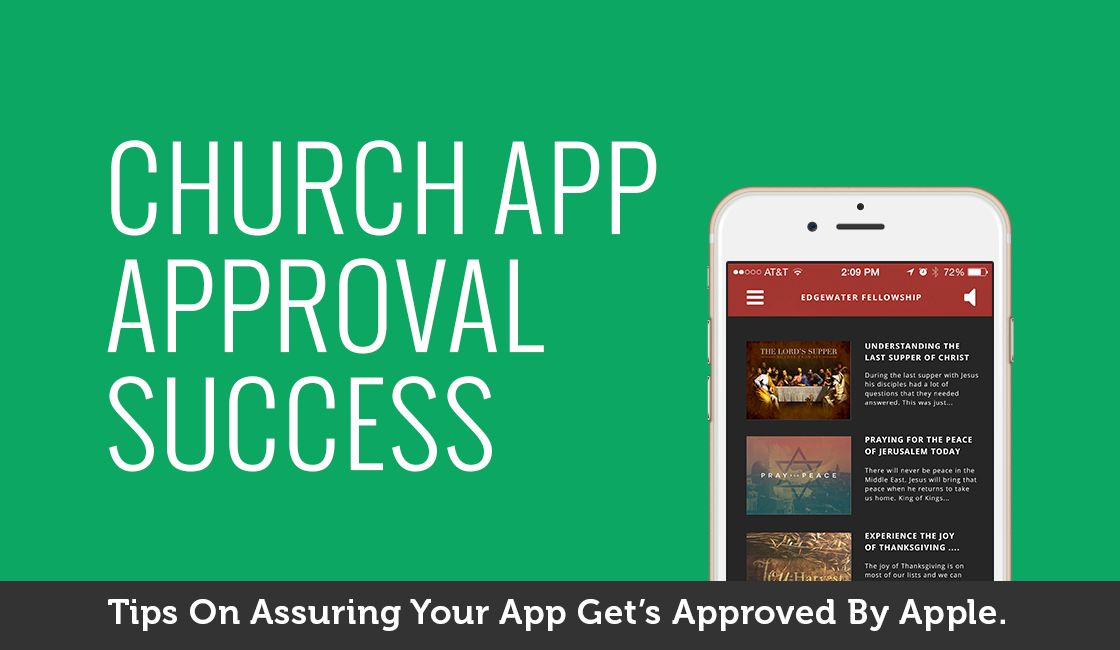
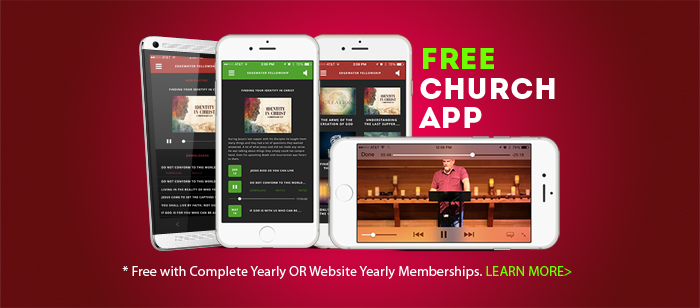
Your new church apps are flying in, and we’re getting them submitted to the Apple and Google app stores as quickly as possible. As many of you are aware, Apple is a little more picky about what they will let into their App Store than Google, and every rejection by Apple can add a week or more to the time it takes to get your app into the hands of your congregation. Having submitted many apps to Apple in the past few weeks, we would like to share the most common reasons why an app could get rejected and provide a few tips so you can get your app live and in the hand of your church!
1. Provide lots of content
Apple does not allow what they call, “business card apps” — that is, apps that only contain a screen or two of information, but aren’t otherwise useful. Make sure that you have blog posts, sermons and at least a newsletter or two when you submit your app for approval. This makes for an app that your congregation is much more likely to fall in love with and use, and it will pass Apple’s “eye test” for relevant content and information.
2. Give a good description
Be sure that the description you provide explains what people can expect to see in the app. If your description only tells people who you are or explains what people can find on your website, Apple will reject your app.
3. Provide as many screenshots as you can
Make sure that you provide unique screenshots. If you submit more than one of the same screenshot, your app will be rejected. If you take the small amount of extra time that is needed to make five unique screenshots for each device, you will be rewarded by your app being scrutinized much less by Apple’s reviewers.
4. Provide images for your blog posts, newsletters and sermon playlists
This is another “eye test” issue with Apple. If you assign images to your blog posts, newsletters and sermon playlists in Sidekick, it will make your app look unique, and it will show Apple’s reviewer that you were willing to take the time to spruce it up. More importantly, this is another easy way to make your app amazing for those who use it.
5. Fill in your “CONNECT” screen information
When you provide information for your “CONNECT” screen, make sure that you include a description of your church, your mission, your service times, and links to your social media sites. If you don’t fill in that information, there will be an empty screen in your app, and Apple is likely to reject it. This is a great way to tell people who you are and how they can stay connected to your church, so fill it in!


